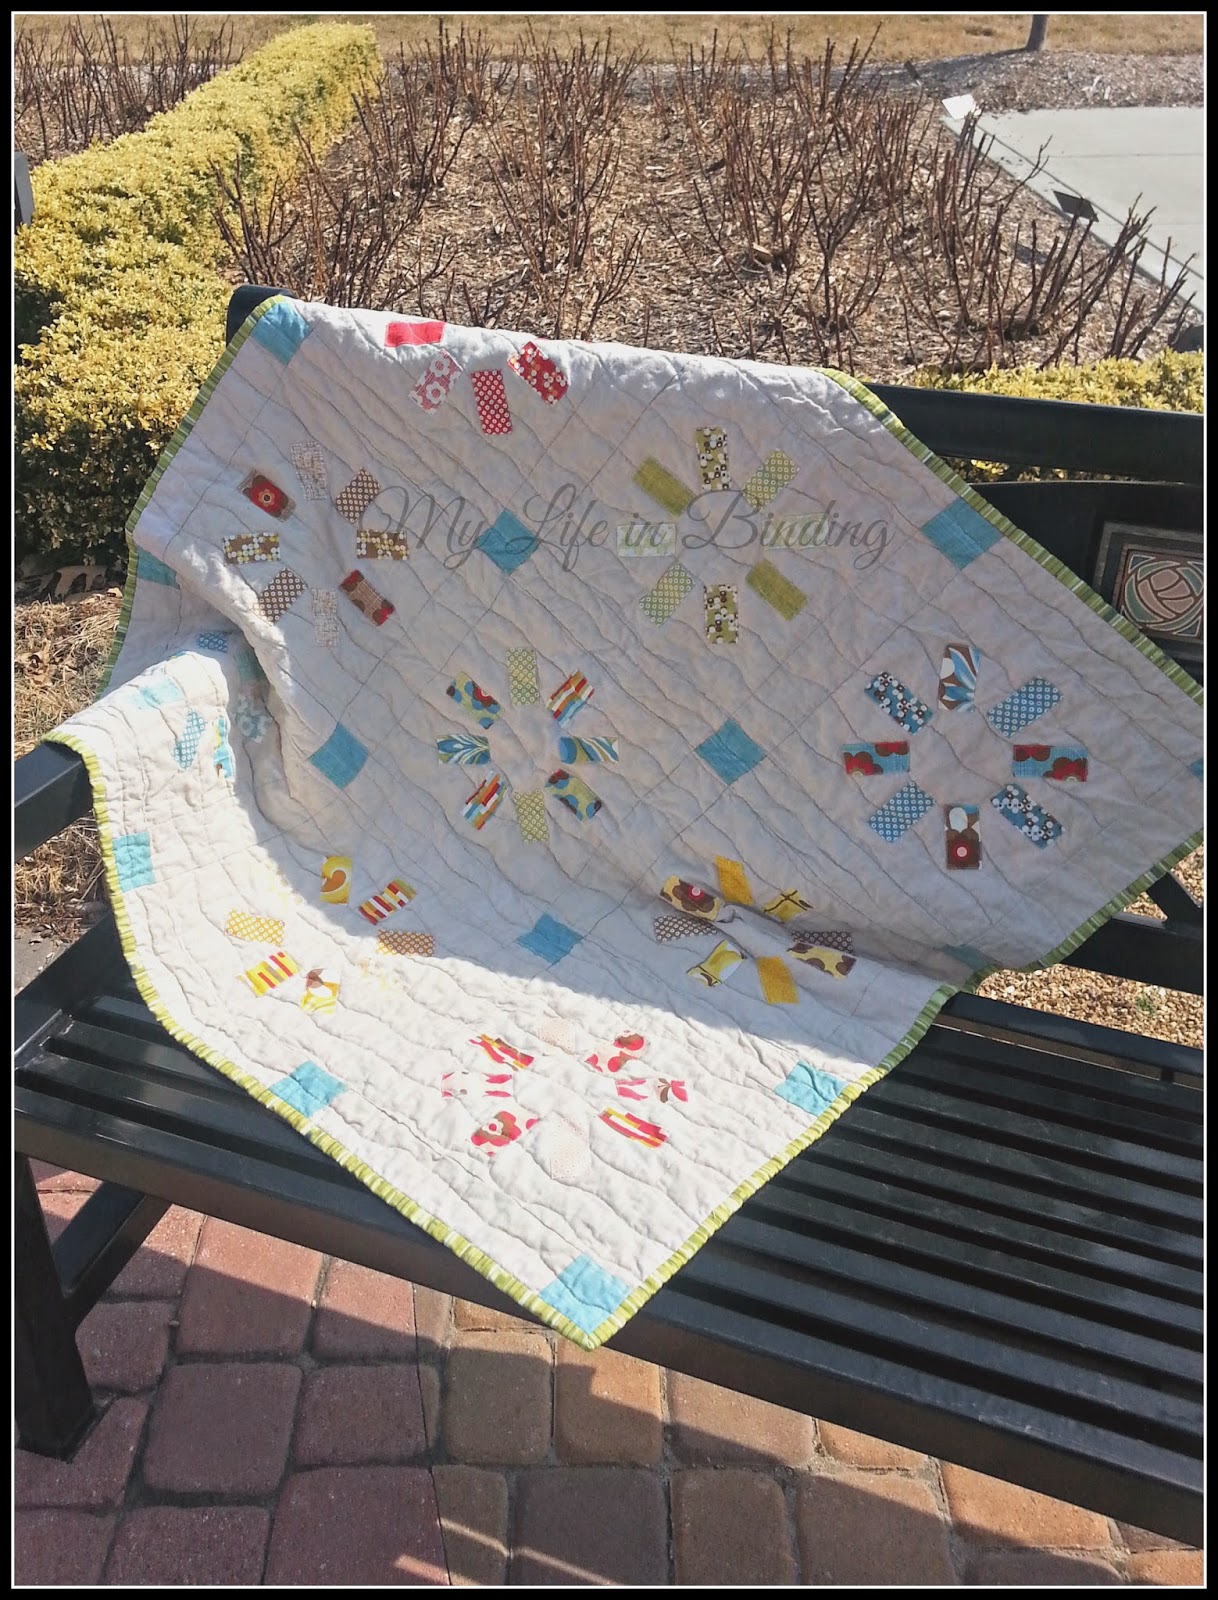
This is one of the most special quilts I have ever made. When I first saw the pattern, I knew I would make it for my niece one day. Problem was, at that point, I didn't have a niece. However, now I do! She was born a couple of weeks ago, and she is the cutest and sweetest baby ever. Of course. :)
The quilt pattern is "Bloom" by V & Co. The original quilt is larger, and has a white background. I didn't think so much white was a good idea for a baby quilt, so I used some Robert Kaufman Quilters Linen print in Silver or Platinum (can't remember which I ultimately chose!) I have a few notes on the pattern at the end of this post, because as written, it didn't work well for me.
(Sorry for the indoor pics. The weekend we visited her, there were 45 mph wind gusts every day. An outside photo shoot wasn't going to work well!)
I quilted the background (I did not quilt over the flowers) with a paisley design. I quilted the whole thing in about 3.5 to 4 hours, and my wrists were NOT happy with me about that decision the next day! But it looks so great, if I do say so myself... so it was worth it. :)
The backing is from Jenean Morrison's True Colors. It is such a neat, busy print! If you're new to FMQ, it's just the type of backing that will hide a multitude of sins, because you can barely see the quilting at all on the back of the quilt.
My niece, A, is not a huge fan of the quilt yet. But hopefully that will change. :)
Here's another picture of her, because she's cute. :)
"Baby Bloom"
Pattern: "Bloom" by V & Co.
Fabric: "Simply Color" junior jelly roll, Robert Kaufman Quilters Linen print in Silver/Platinum
Backing: Diamonds in pink from True Colors
Quilting: FMQ paisley by me on my domestic machine
Finished size: 42" x 56"
A few notes on making the beautiful Bloom pattern:
Unfortunately, the method for turning petals outlined in the Bloom pattern did not work for me! Like, at all. I tried some practice petals, and the small ones in particular did not work out. The pattern calls for using a very, very thin fusible web, stitching it to the petal shape, then cutting a slit in it and turning the petal inside out. This... was a disaster! The fusible web (and I made sure to buy the one listed in the pattern) was too fragile to allow fabric to be pushed through it, and it invariably ended up shredding all the way to the edge, resulting in a sloppy, unevenly shaped petal.
What I ended up doing was tracing the petal template onto heat-proof template plastic, and then cutting out the petals with a 1/4" seam allowance. Then I "painted" starch onto the edges and used a mini iron to fold them over. After they cooled, I took the template out. As you can imagine, this was fairly time consuming. However, I did end up with petals that looked very nice and had smooth edges. I used Roxann's glue to lightly glue the petals in place before I stitched around them.
Linking up with Finish It Up Friday and Fabric Tuesday!
Pin It


.jpg)


